21 Backyard Movie Screen DIY Ideas for 2026
I’ve always loved the idea of turning my backyard into a personal cinema, and over time, I’ve experimented with various DIY movie screen setups. Crafting the perfect outdoor screen for 2026 means considering durability, ease of assembly, and a sharp viewing experience. Here are 21 creative ideas that I’ve tested and found both practical and fun to build.
Key Takeaways
- Choose durable, weather-resistant materials for longevity.
- Incorporate adjustable frames for easy storage and setup.
- Use projectors suited for outdoor lighting conditions.
- Consider both fixed and portable screen designs based on space.
- Add sound considerations for a fully immersive backyard cinema.
1.PVC Pipe Frame Screen
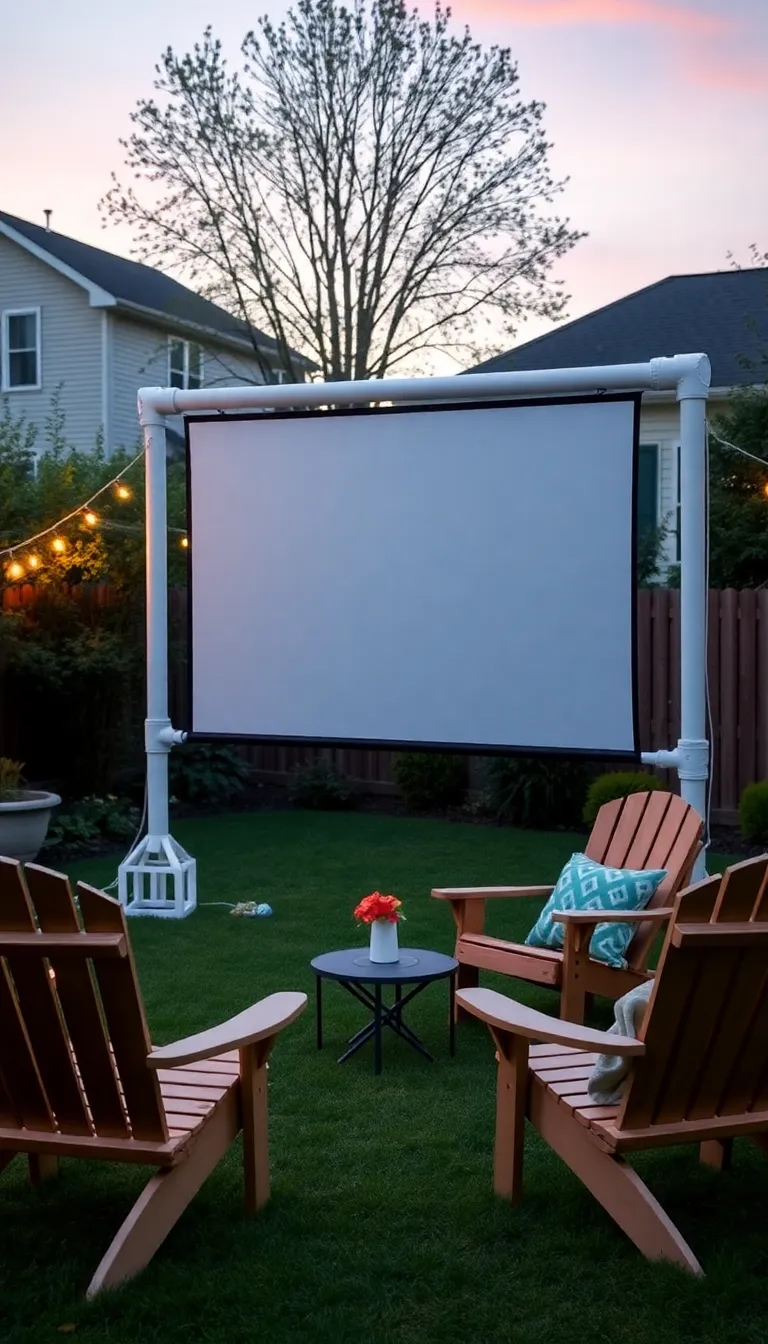
I started with a PVC pipe frame screen because it is lightweight and inexpensive. I found that assembling and disassembling the frame is quick, which is perfect for temporary movie nights. The flexibility of PVC also lets me customize the screen size as needed.
Pro Tip: Use conduit clamps to secure the pipe joints tightly for a sturdy frame.
2.Wooden Frame with White Sheet
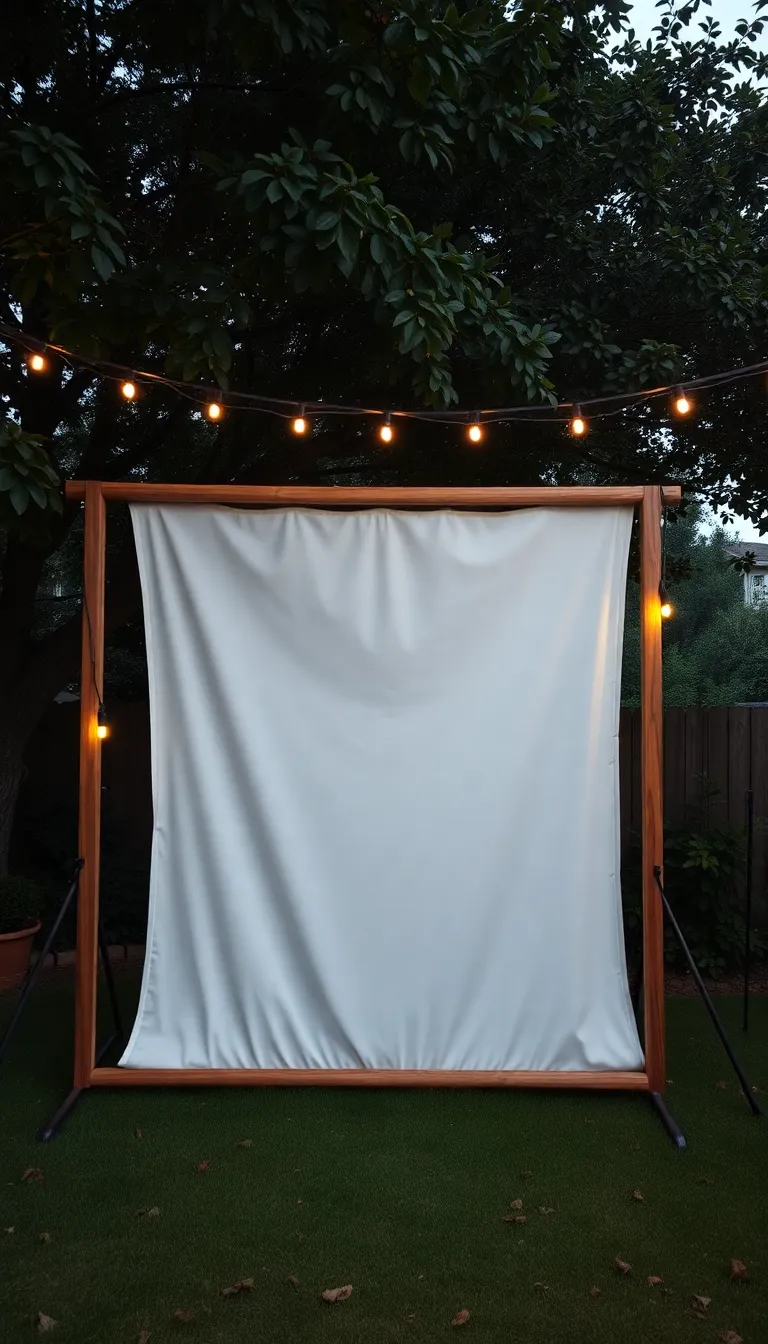
Using a wooden frame has been my go-to for a more permanent backyard screen. I stretched a thick, durable white sheet over the frame and stapled it tightly to avoid wrinkles. This setup feels robust, and the wood’s natural look blends well with outdoor spaces.
Insight: I found that sanding the wood first prevents splinters and enhances the frame’s appearance.
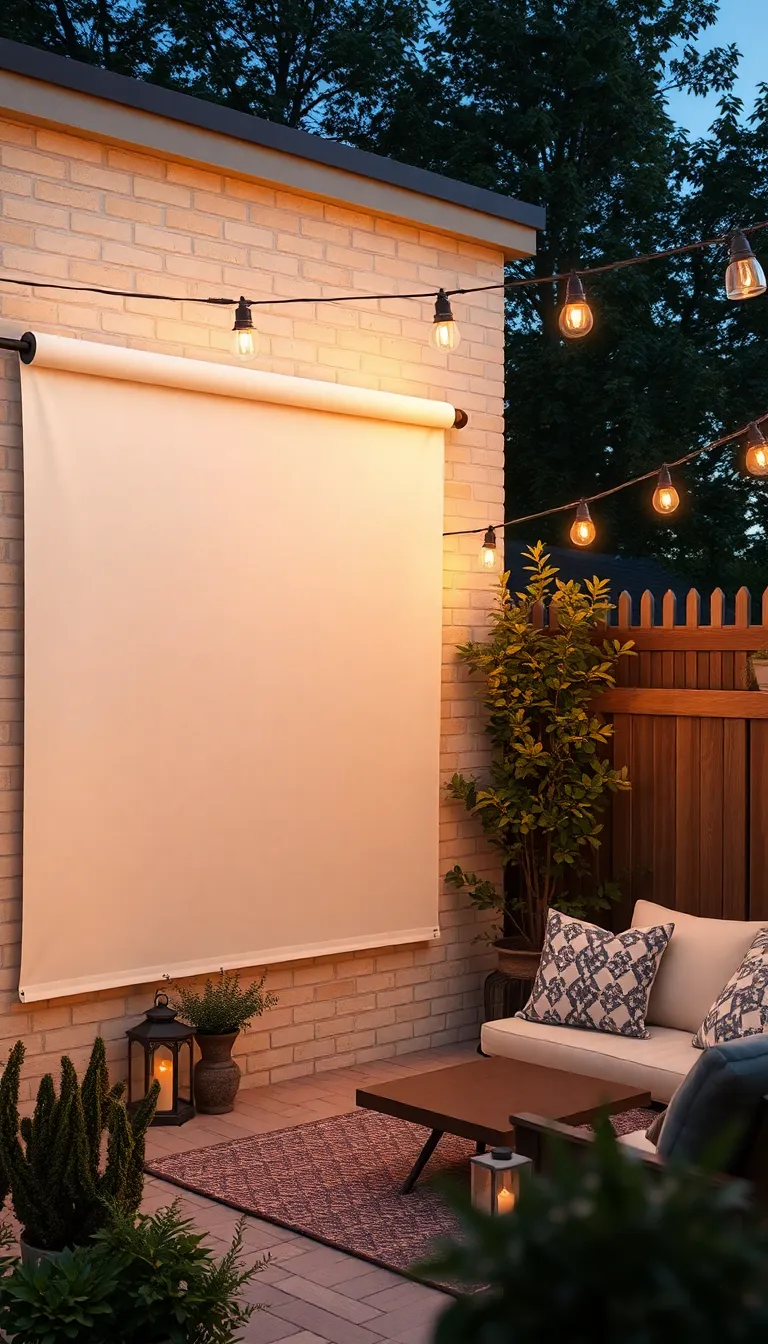
3.Retractable Roller Screen
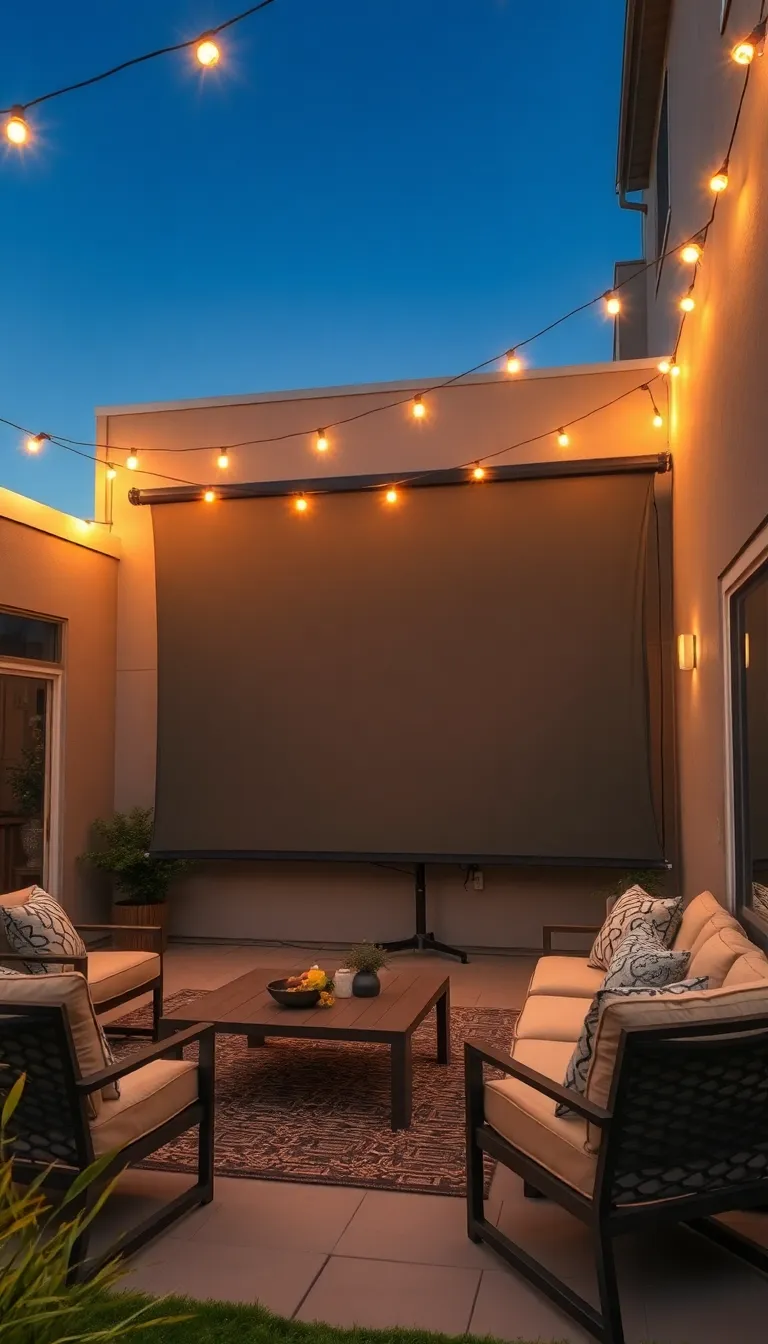
I installed a retractable roller screen on an exterior wall, which is great because it rolls up when not in use. This keeps the screen protected from weather and debris, extending its lifespan. It’s perfect for anyone with limited space who wants a sleek solution.
Fact: Retractable screens often come with weatherproof casings to shield the screen fabric.
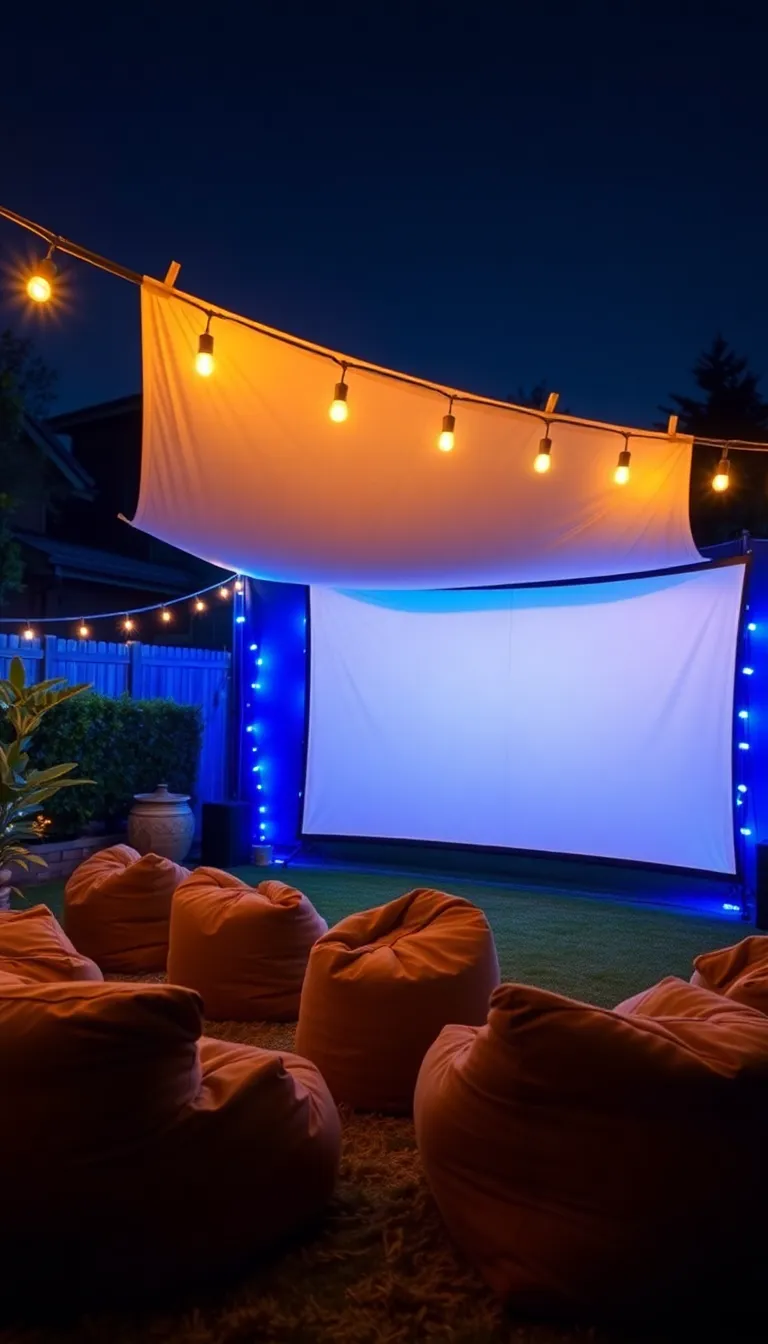
4.Old Bed Sheet on Metal Frame
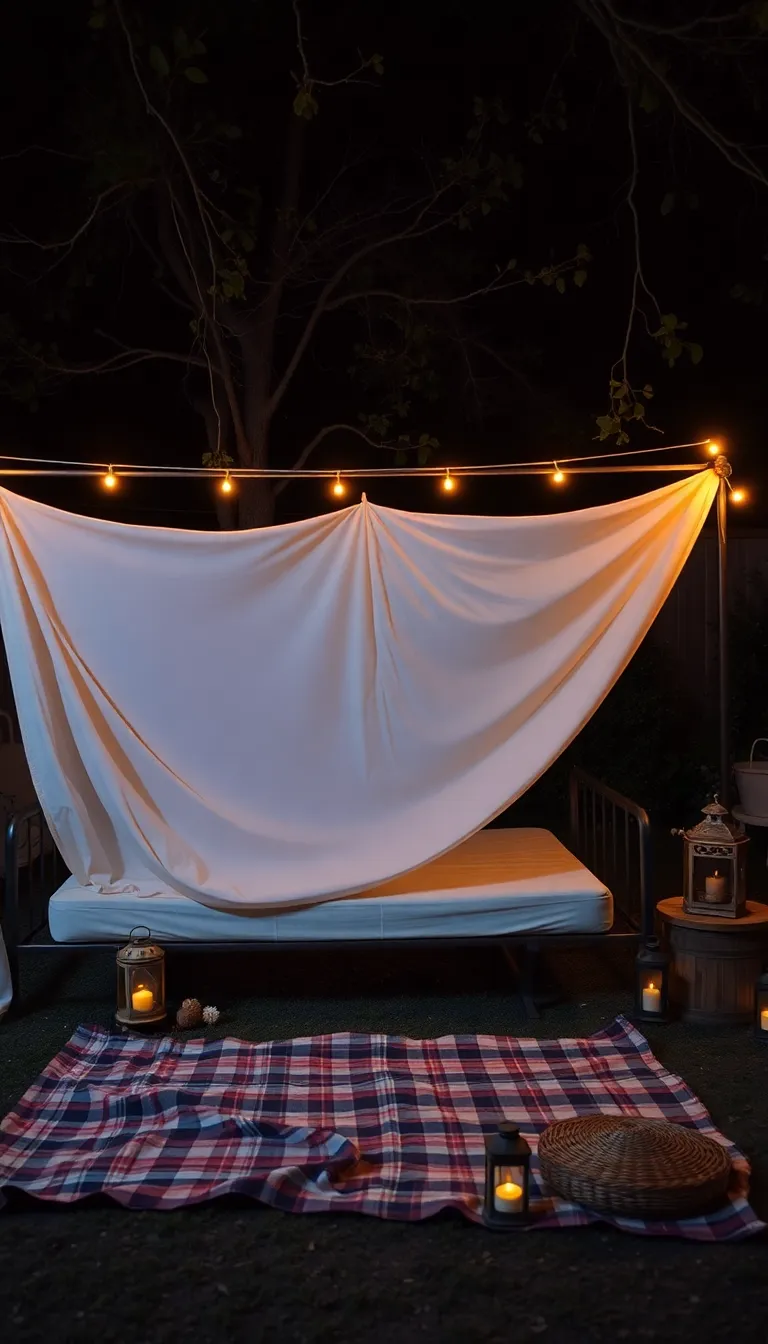
I once used an old, stretched bed sheet attached to a metal frame I found at a thrift shop. It’s an economical and sustainable way to create a movie screen. Though the image isn’t extremely crisp, it’s perfect for casual movie nights under the stars.
Pro Tip: Choose tightly woven white sheets for a clearer, brighter projection.
5.Tarp Screen with Grommets
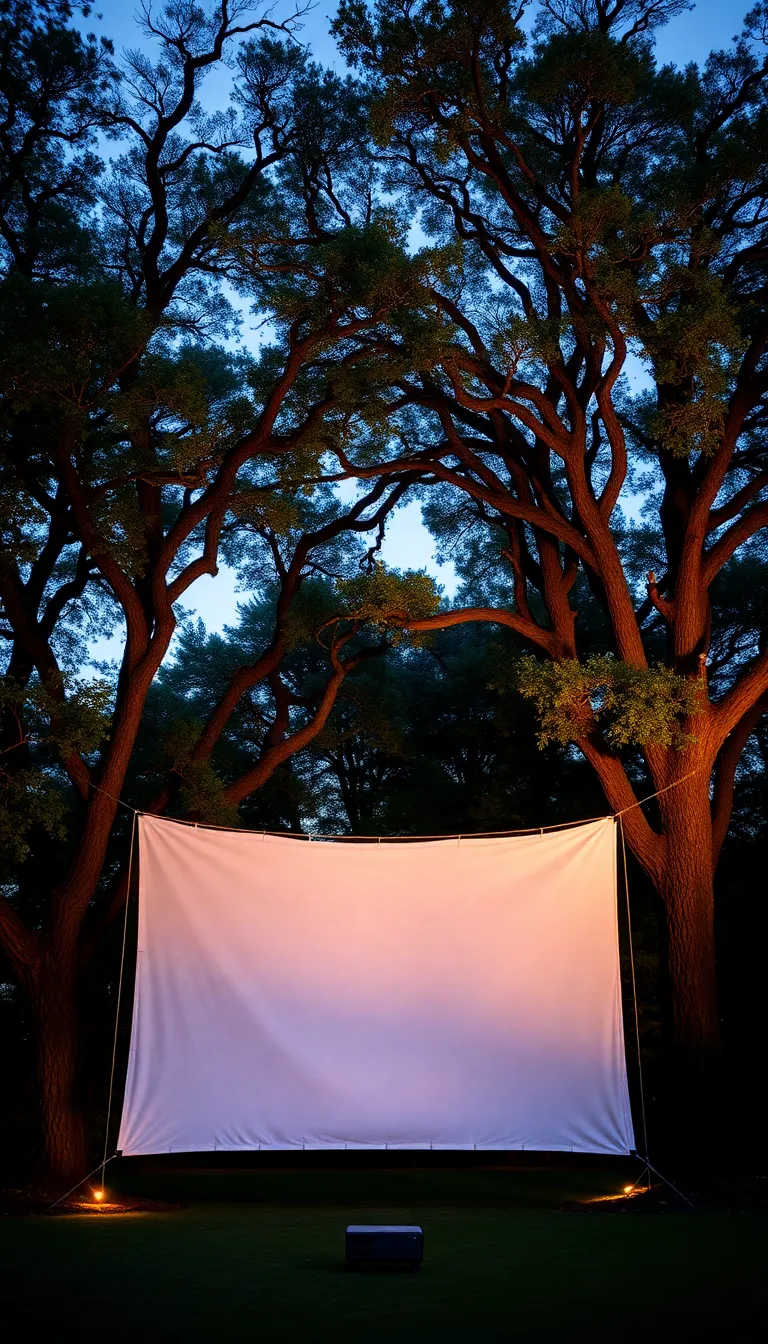
I’ve had great success using a heavy-duty white tarp with grommets as an affordable screen alternative. I hang it between two trees with ropes, which allows quick setup and removal. The tarp’s durability has helped it survive windy nights without tearing.
Pro Tip: Secure the tarp tightly to avoid flickering caused by wind movement during projection.
6.Frame with Blackout Cloth
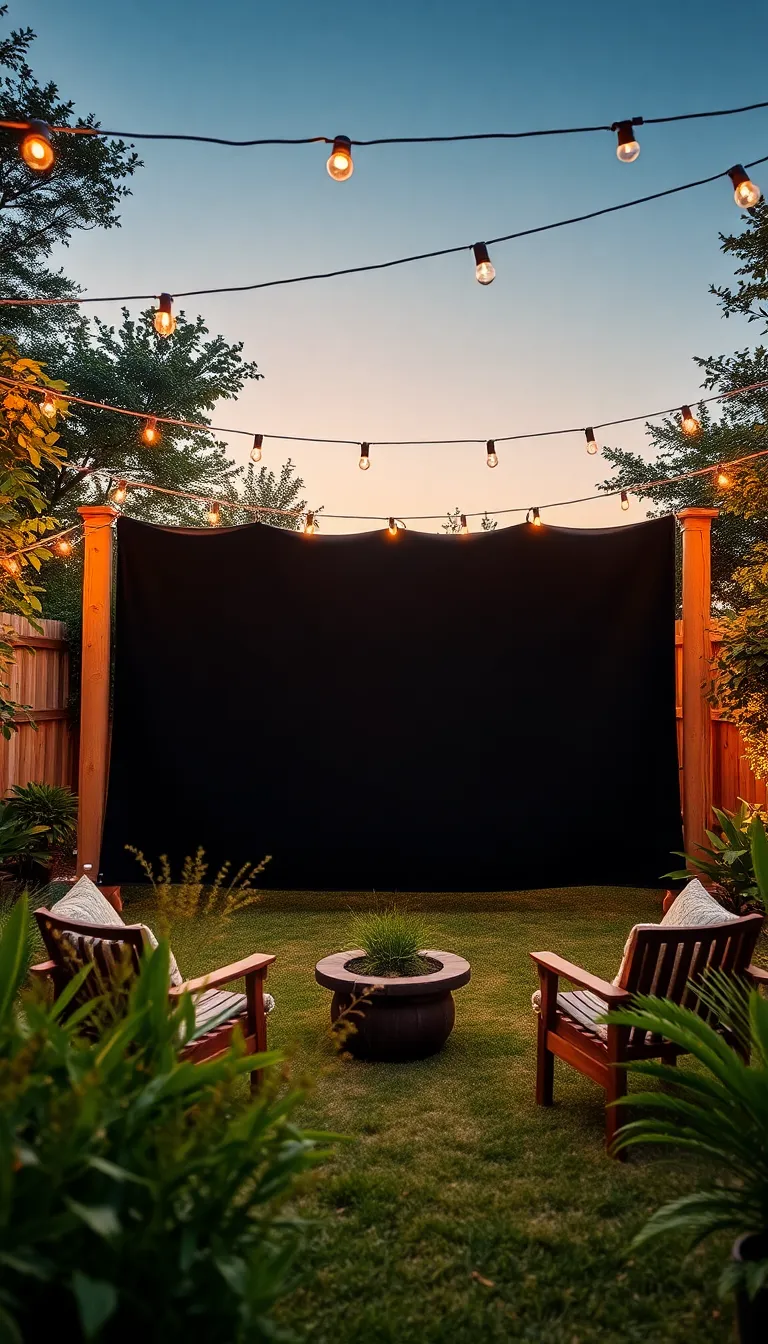
For superior image quality, I stretched blackout cloth over a custom wooden frame. I found that the cloth absorbs excess ambient light, creating a deeper contrast. This method required precise measurement but dramatically improved my viewing experience on brighter nights.
Insight: I noticed blackout cloth reduces glare and enhances color vibrancy significantly.
7.Projector Screen Paint Wall
Painting a projector screen directly onto a flat backyard wall has always appealed to me for simplicity. I used a specialized reflective screen paint that brightened the image noticeably. It’s a fixed solution and looks sleek with no bulky frame to worry about.
Fact: Screen paint can increase your projector’s brightness by reflecting more light than traditional screens.
8.Pop-up Tent Screen
I discovered pop-up tents with mesh sides that can double as movie screens when fitted with a white fabric insert. This setup is ideal for portable, wind-protected viewing experiences. It’s also versatile since the tent offers shelter from bugs or light drizzles.
Pro Tip: Choose tents with adjustable frames to fit custom fabric screens easily.
9.Folding Screen Panels
I built folding screen panels that hinge together, making storage and transport simple for my occasional movie nights. Each panel is covered with screen fabric and reinforced with lightweight wood. I appreciate how quick it is to set up and pack away this flexible design.
Insight: I find folding screens great for adjusting screen width depending on group size.
10.Shoji Screen Inspired Frame
I created a screen inspired by shoji panels using sliding wooden frames with semi-opaque white fabric. This design adds an elegant Japanese aesthetic to my backyard cinema. The panels also help soften ambient light for a more pleasing projection surface.
Fact: Shoji screens traditionally diffuse light, providing a gentle viewing experience.
11.Inflatable Movie Screen
For truly effortless setup, I tested an inflatable movie screen that inflates and deflates in minutes. The materials are weather-resistant, and the screen is taut when inflated, delivering a smooth viewing surface. I found it perfect for larger gatherings where quick assembly is key.
Pro Tip: Always anchor inflatable screens securely to prevent movement in windy conditions.
12.Roll-Up Bamboo Screen
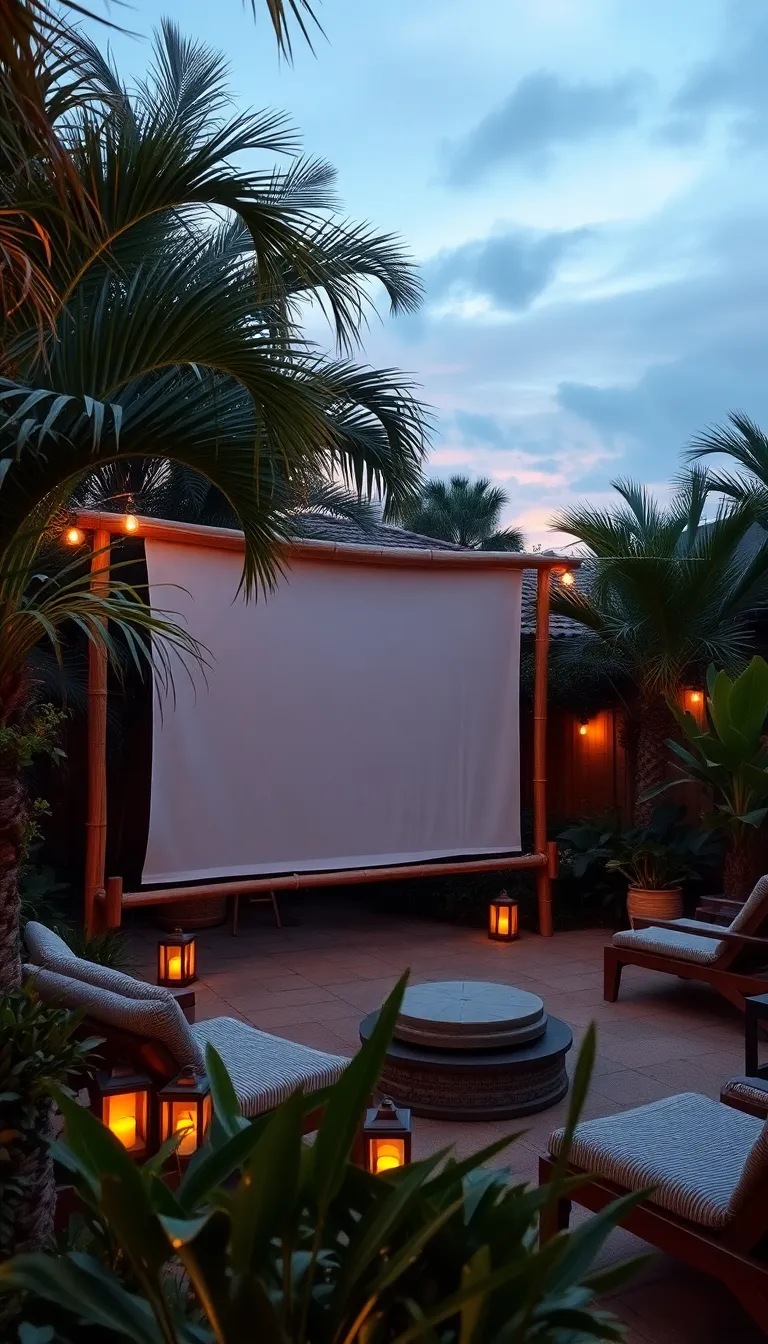
I incorporated an improvised roll-up screen using bamboo slats and white fabric for a natural, eco-friendly look. Rolling it up when not in use protects the fabric and makes storage effortless. The bamboo adds a rustic charm that suits tropical or garden-style backyards perfectly.
Insight: I noticed bamboo’s natural durability also helps withstand outdoor elements better than some woods.
13.Metal Pipe Tripod Screen
Using metal pipes welded into a tripod stand gave me a highly stable screen without needing ground anchors. The tripod design makes adjusting the height simple for better projection angles. It’s compact and works well on uneven backyard terrain, which was essential for my space.
Pro Tip: Weld pipe joints firmly and add rubber feet to prevent slipping on different surfaces.
14.Curtain Rod Mounted Screen
I installed a curtain rod over my porch area to hang a rollable movie screen fabric, which I pull down only during movie time. It’s a simple, space-saving solution and blends with the existing home structure. I appreciate how clean and untidy the setup looks when the screen is rolled up.
Fact: Curtain rods provide easy tension control for smooth, wrinkle-free screens.
15.Outdoor LED Backlit Screen
I experimented with attaching LED backlights to the edges of my DIY screen for an immersive glow effect. This added ambient lighting improves nighttime visibility without interfering with the projected images. It also creates a stylish focal point in the backyard movie setup.
Insight: I find the LED backlight enhances both the screen’s aesthetics and viewer comfort.
16.Heavy Canvas Screen on Frame
I chose heavy canvas as a screen material because of its durability and resistance to wrinkles. Mounted on a wooden frame, it sits tight and provides a solid surface for projection. The weight also helps reduce screen shaking in breezy conditions.
Pro Tip: Stretch canvas tightly and secure edges with staples to avoid sagging during use.
17.Tripod Projector Screen with Clips
I put together a tripod projector screen using a fabric panel clipped to the frame with spring clamps. This modular approach lets me swap out screens for different occasions easily. I especially liked the portability and quick assembly this setup offers for impromptu movie nights.
Pro Tip: Use strong, weather-resistant clips to keep fabric from slipping during windy nights.
18.Wall-Mounted Canvas Drop Screen
Mounting a canvas drop screen directly onto an exterior wall remains a classic style I recommend for stability and ease. I secured a roller mechanism that allows me to pull down the screen when needed and roll it back up afterward. It’s practical and ensures the screen stays clean and protected.
Fact: Canvas drop screens often come with weatherproofing to extend outdoor longevity.
19.Framed Screen with Tension Rods
I built a framed screen reinforced with tension rods along each side to keep the fabric perfectly flat. This method combats sagging and wrinkles better than staples alone. I found tension rods particularly helpful for larger screens where even surface is critical.
Pro Tip: Install tension rods incrementally to achieve uniform fabric tightness on all sides.
20.Ladder Frame Movie Screen
Repurposing an old wooden ladder as a frame gave me a quirky, budget-friendly DIY screen option. I attached a white fabric tightly between the ladder rungs, and it surprisingly provided an effective viewing surface. This idea works well for smaller areas and adds a rustic charm.
Insight: I learned that upcycling materials often brings character and uniqueness to outdoor movie setups.
21.Suspended Screen with Rope and Clips
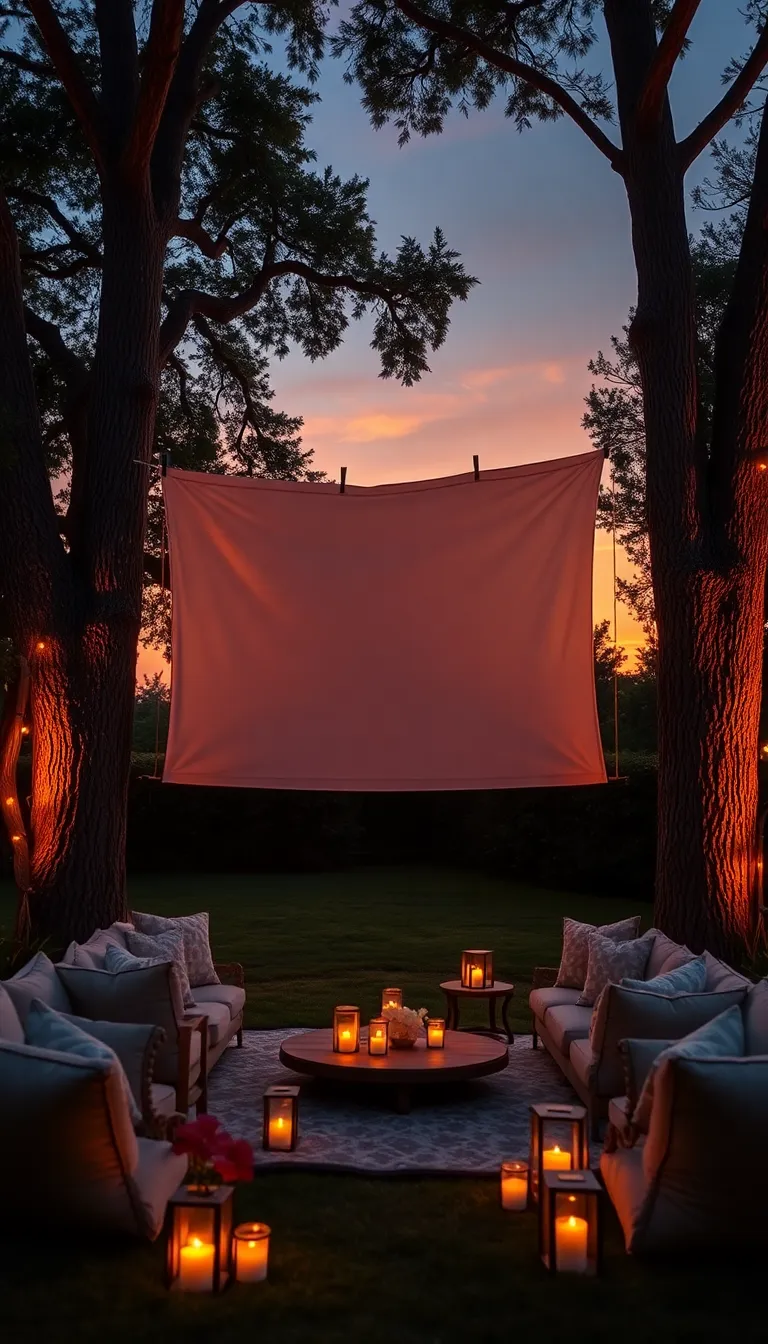
I’ve tried suspending a screen using thick rope between two trees and securing the fabric with clips. This simple method allows for quick adjustments and easy take-down. It’s especially useful for casual parties when I want a no-fuss temporary screen.
Pro Tip: Tighten ropes firmly and space clips evenly to avoid fabric sagging mid-movie.
Conclusion
From lightweight PVC frames to artistic printed canvases, there’s a DIY backyard movie screen idea for every space and style that I’ve personally tested. Each approach offers unique perks depending on your setup and viewing preferences. With these 21 ideas, I’m confident you can create the perfect outdoor cinema for 2026 and beyond.